Bassoon Reedmaking
1. Soak GSP cane in water for a few hours or overnight.
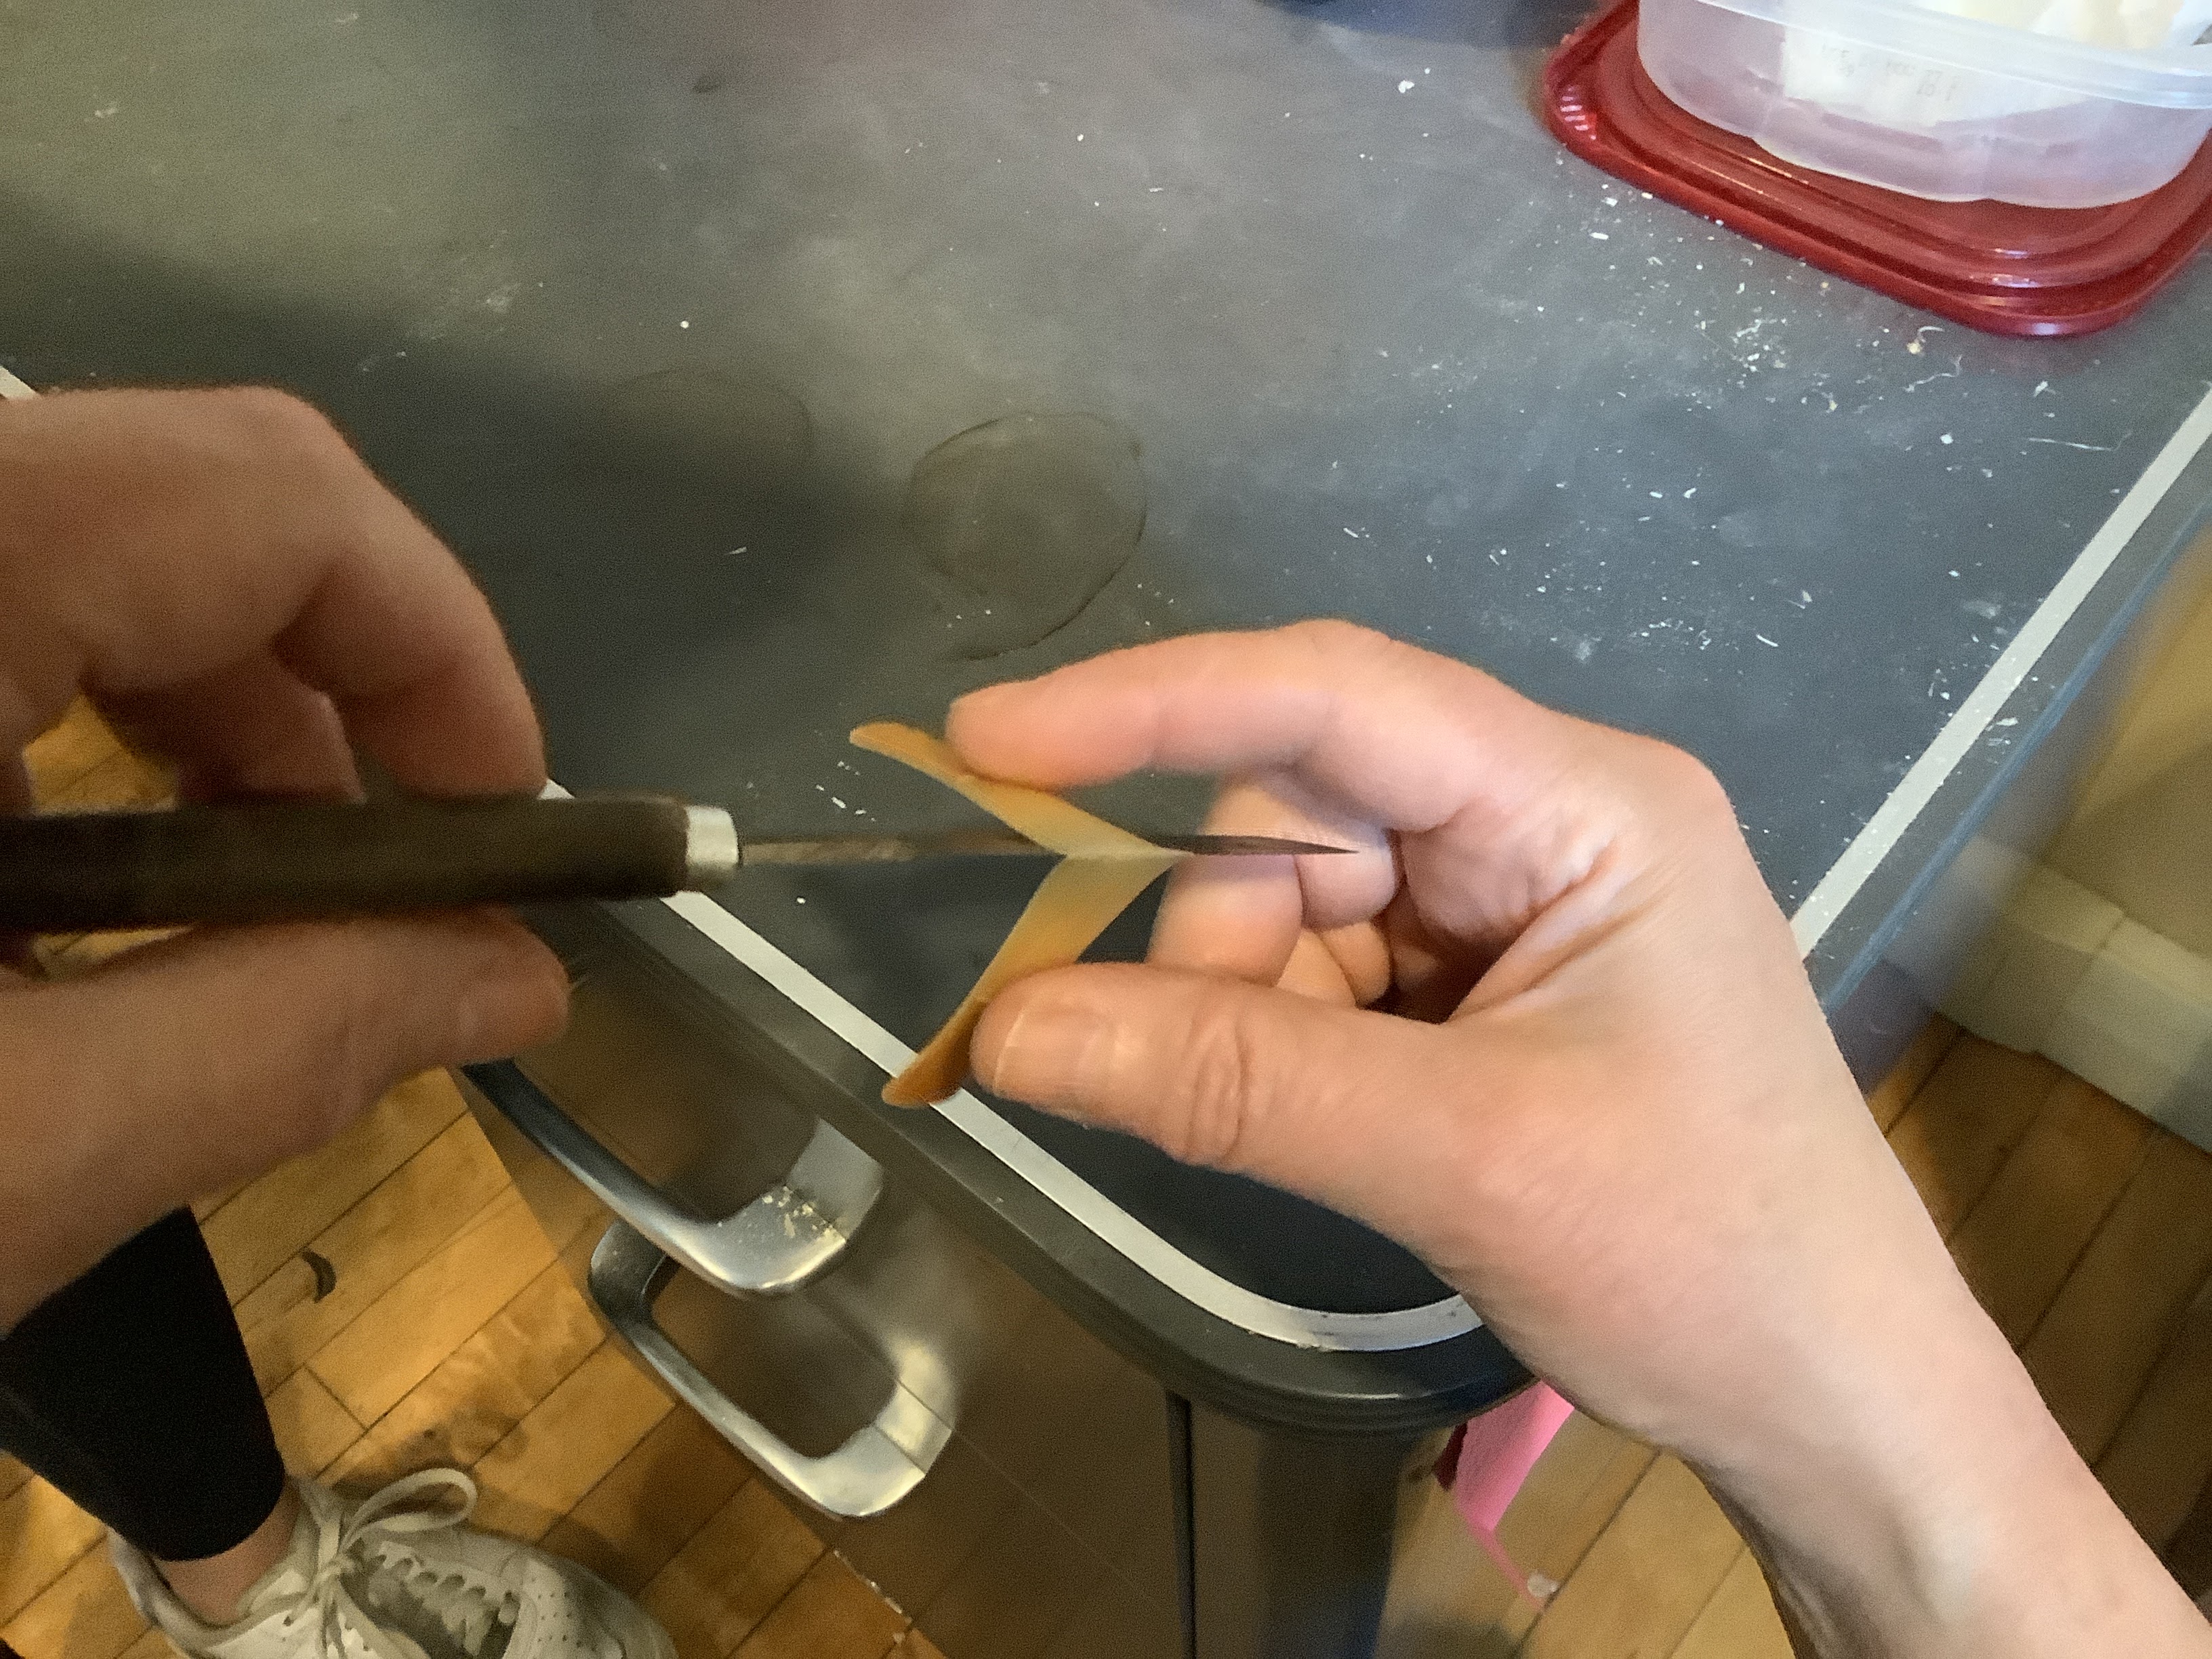
2. Fold cane in half using a knife as a guide (fold the cane over the knife blade, but don’t actually use the knife to cut the cane).

3. Use pruners to cut the ends of the cane off if necessary. The bark should be 1 and 1/18” long. (The top wire is applied at 1 inch, and there is a 1/8 inch “collar” of bark above the top wire.)


4. Score the bark with lengthwise knife marks, barely breaking through the bark, which will enable the tube to be round.


5. Fold the reed in half and apply the top wire at 1 inch from the bottom.
6. Wrap string around the reed below the wire and moisten the reed with water.
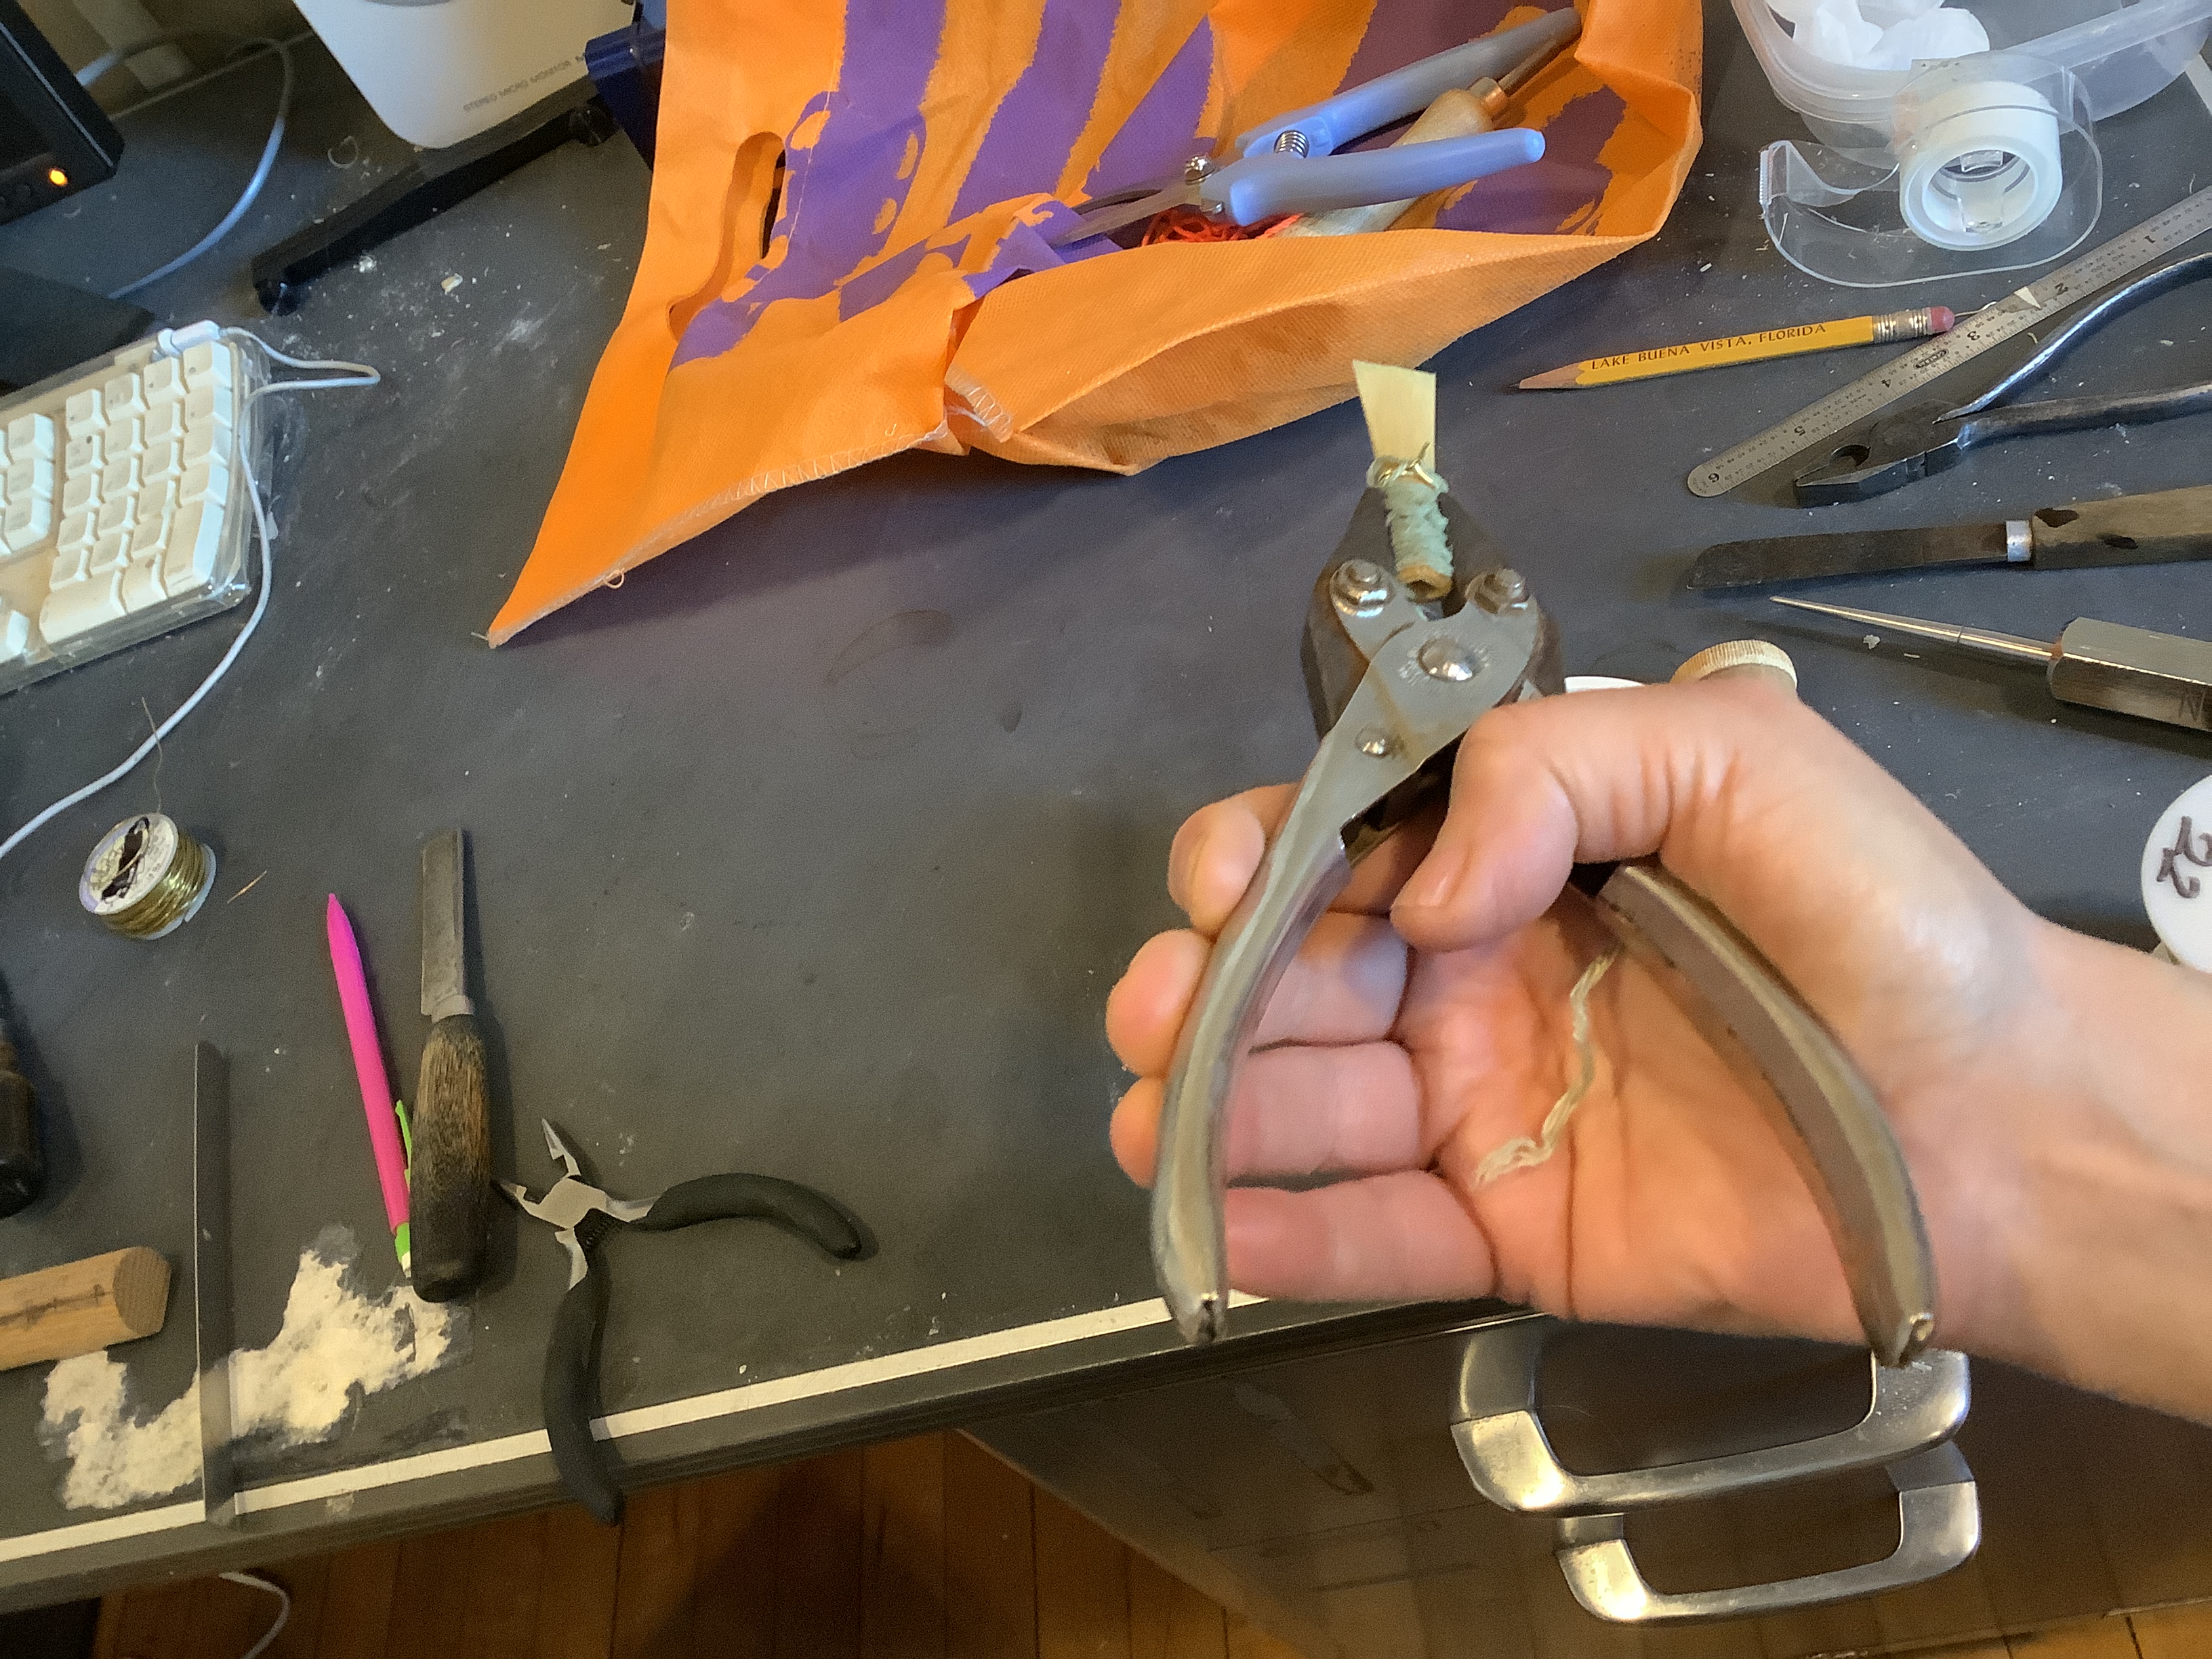
7. Use parallel pliers to nudge the bottom of the reed open so that the forming mark may be inserted.

8. Insert the forming mandrel, being careful NOT to TWIST! Insert it straight in, slowly. If it won’t go all the way to the line on the mandrel, loosen or remove some of the string. Never twist the reed or mandrel.
9. Remove some of the string at the bottom of the reed and apply a wire to the bottom of the tube, with the wire twisting on the opposite side of the reed from the top wire. This bottom wire should go around 3 times instead of the normal 2 times so that it’s extra strong.
10. Allow the reed (called a “blank” at this stage) to dry, ideally for at least 2 weeks. ————————————————————————————————————————————————
11. Remove string and wires.
12. Straighten out the piece of cane and bevel each end by rubbing the bottom third of the bark on a sanding block.


13. Fold the cane and wrap dry string around the bottom third. Apply the middle wire at 5/16” below the marks where the top wire was.

14. Apply the bottom wire at 3/16” from the bottom, making sure the wire twists on the opposite side from the middle wire.
15. Apply the top wire at 1” from the bottom. It should twist on the same side as the bottom wire.

16. Apply a small amount of Duco cement to the edges of the bark below the middle wire.


17. Cut off the twisted part of the bottom wire.


18. Wrap the reed with thread between the bottom and the middle wire, forming a “Turk’s head” around the bottom wire and then folding the middle wire form over the string just under the middle wire.


19. Apply Duco cement to the string wrapping and dry overnight. ————————————————————————————————————————————————
20. While dry, ream the inside of the tube. Ream until you reach the stopping mark on the reamer, since there should be no guesswork involved.
21. After reaming, smooth the inside of the tube with a rat tail file or rolled sandpaper.
22. Measure from the bottom of the reed to the top (2 1/8 from bottom wire or 1 1/18 from top wire)
23. Soak the reed in water for a few minutes.
24. Cut the tip off the reed off at 1 1/8” from the top wire. Measure carefully, being cautious not to cut too much off.
25. Use the top profiler. Start with the side with wire twist on top. Continue using top profiles until no more cane is removed, then turn the reed over and tip profile the other side. Make sure the cane is kept wet so it won’t crack!


26. Cut the corners of the sides of the tip with a knife and cutting block.
27. Hand finish the blades as needed, being mindful of maintaining the heart in the center of the blade. It’s possible that your reed might not need any hand finishing, so be sure to play on the reed before hand finishing.

◦